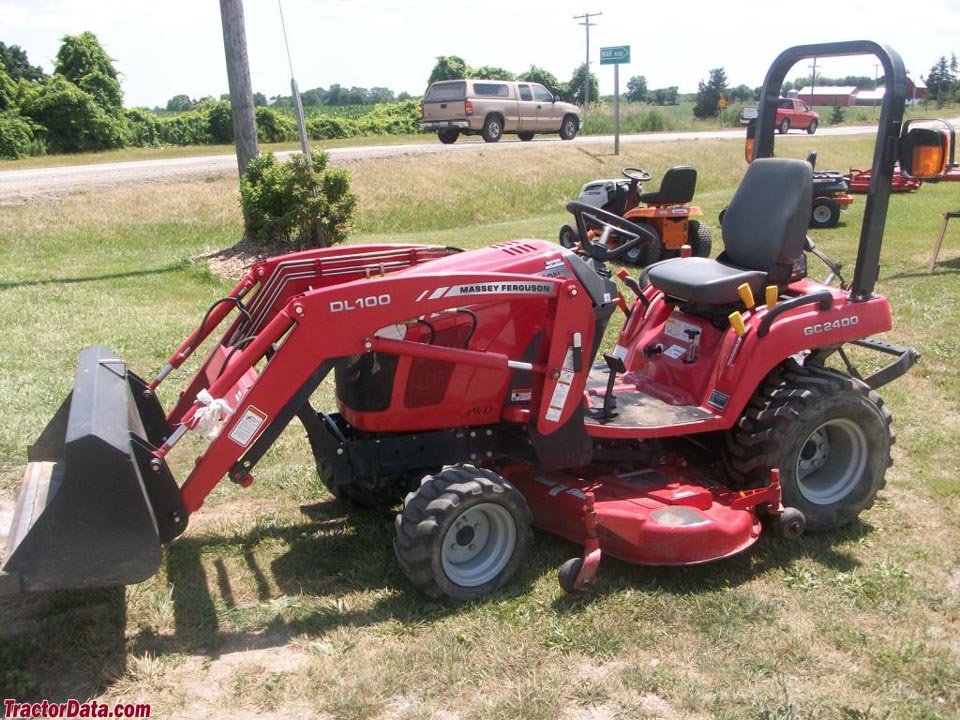
The above image was copied from Tractor Data dot com, a great site for looking up the specifications of most all modern tractors and some older ones. I have found it to be accurate and used it heavily prior to purchasing any used or new tractors
A couple weeks ago the tachometer on my Massey Ferguson GC2400 tractor went TU. Not good. The tach is needed to ensure the RPMs are correct for what you are doing. For me, it is far more important in the warm months when I am cutting grass with the five-foot mower deck than in the winter when most use is plowing. Regardless, today I was doing lots of maintenance tasks on other equipment so today was the day to fix it.
 |
The center gauge is the Tachometer. On most tractors, the tach will show at what speed the engine must run to to run the attachment at the pro[er speed. For the rear PTO to turn at 540 RPMs (the industry standard), the engine RPMs need to be in the green zone, 2500 RPMs.
|
As always, it was not as simple as it could have been if the engineers had been a little more thoughtful. I had to remove the air intake and hoses, the alternator, and the fan belt. It is a small tractor so everything is packed in tight and I have big hands. For the most part, this small tractor is easy to maintain; the filters and fluids are accessible without taking much apart. This was the exception.
In my attached car garage, I have ample workspace, decent lighting, and a pretty good set of tools. I would love to have a separate shop just for working on machinery but right now I don't. An open and organized workspace isn't just convenient, it is also safer to work in. You don't want to trip over stuff on the floor, knock things over, or not be able to access your work area due to a confined or cluttered work space.
The back side of the dash and the battery. The tachometer on this tractor is mechanical, which means there is a cable going from the engine to the tachometer. I am pointing to cable connection on the backside of the tach. The cable comes out the left then runs down to a fitting on the engine. You can see a great deal of wear on the cable there. The cable shroud simply screws on with the knurled fitting.
Apparently
the cables breaking is a known problem. When I did my Google and
YouTube searches, I saw many complaints. Mine lasted longer than
average, I bought this tractor in 2009 so it has a lot of hours on it. Part of the problem is the
ridiculous length of the cable. It is less than 13 inches from the tach
housing to the engine housing, but the cable is 60 inches long. That requires
the cable to be snaked through the engine compartment and the way the
factory did it causes several sharp bends that cause friction and heat. My cable broke nearly in the middle.
I thought the cable shroud was worn down from rubbing on something, but it looks like some critter chewed on it really. The damaged area her was five inches long and another damaged area was three inches long. To repair this, I first wrapped it with electrical tape.
Then I put shrink tubing over the tape. Luckily, I was able to slide the retaining fitting up the cable so I could slide two pieces of shrink tube over the end. I am new to using shrink tube, but for the few applications I used it, I like it a lot.
Shrink tubing is great stuff; slide it over whatever you need to cover and heat it up. I used a butane torch but a lighter or a heat gun also work. Once it is shrunk, it forms a neat, tight seal.
The tachometer cable needs to change it direction 90 degrees and to do that there is a "worm gear" inside the back of the tach. Several
YouTubers recommended to disassemble the tachometer to clean and grease
the worm gear inside. They also cautioned about losing the screws in
the cramped quarters so I used a towel as a safety net. It came apart very easy.
I cleaned both sides and packed them with fresh grease. That should help to reduce friction and thus heat. It was easy to reinstall, there are only two screws and everything lines up easily. Once the worm drive housing was back together I reconnected the cable to the engine mount. The cable end has a ridge on it that fits into a slot, or key-way, inside the engine mount. That was a little tricky to line up but I used a pair of needle-nose pliers to turn it until the two side matched up and it slid into place.
The next step was to find route to run all this cable but up to the back of the tachometer. I needed to find a route that didn't make any sharp turns and where it would be exposed to too much heat. It took some trial and error but I think I have a good solution. I zip-tied it where I could to keep it from moving around and to keep it away from high heat areas such as the exhaust.
Lastly, to reassemble all the parts I had to remove to gain access to the engine areas I was working on.
Once the tractor was put back together I started it up and the tachometer worked perfectly. Conservatively, I saved at least $300 by doing this repair myself and the tractor was only out of service for two hours instead of several weeks.


